Groups & Classes
The Groups/Skills functions allow you to organize people into groups and classes or tag them with skills and interests. You can use these functions to:
-
Enroll members in classes and groups
-
Advance people through courses
-
Create lists based on interests and abilities
Access Setup Groups
To access from the Button Bar, go to Groups/Skills > Setup Groups

Setup Groups/Classes
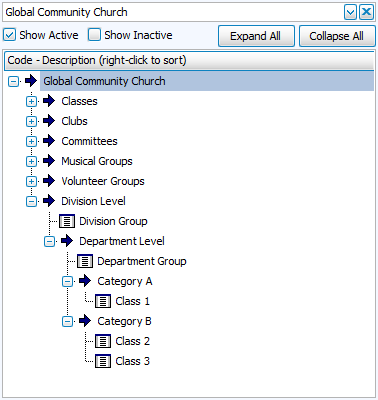
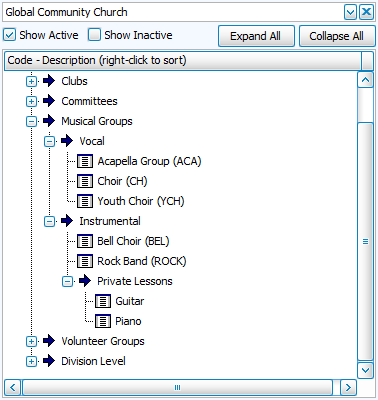
You can use levels of hierarchy to organize your Groups or Classes. It's not necessary to use every level. Groups and Classes can be added at any level.
-
Division
-
Department
-
Category
-
-
Click  to open up all of the hierarchies, click
  to close them.
Organize Groups and Classes
Add a Division, Department, or Category
-
Highlight the level above your new subheading.
-
Click the Add button in the lower left.
This button changes based on the level. -
Type in the name of the subheading on the right side of the screen.
Delete a Division, Department, or Category
Subheadings can only be deleted if they no longer contain any groups or classes. If the subheadings contains classes, first move them using one of the methods listed under Arrange Groups and Classes.
-
Highlight the subheading you want to delete.
-
Click the Delete button at the bottom of the screen.
-
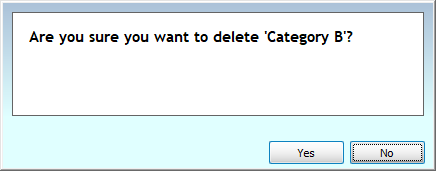
Confirm the deletion.
Arrange Groups and Classes
There are several ways to move groups and classes around.
-
Use the
 and
and  to change subheading sort order.
 -
Drag and drop subheadings or classes within the hierarchy to change their position.
-
Select a new section from the drop down to move subheadings or classes.
Manage Groups and Classes
Add Groups or Classes
-
Click
 .
. -
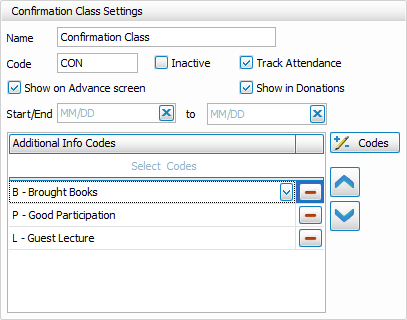
In Settings, on the right, give the group a Name.
Optional: Create a shorthand code to use as an abbreviation in reports. -
Check
 in order to Enter Attendance and additional information.
 -
Check
 in order to Enter Donations from this group.
 -
Check
 to include in Advance Groups.
 -
Enter start and end dates
 for advancement settings or to set service terms for the group. If no dates are entered, but advancement is selected, you'll get this reminder message.
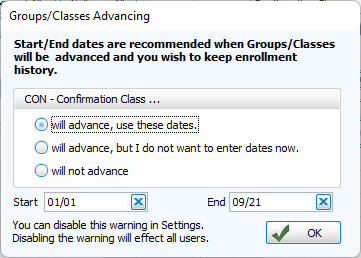
-
Optional: You can choose to track additional information by adding or selecting from your
 . These can be checked when entering attendance.
Edit a Group or Class
-
Highlight the name of the group or class you want to edit.
-
Make changes on the right side
Your changes will be saved automatically.
Mark a Group or Class Inactive
-
Highlight the name of the group or class you want to archive.
-
Check the
 box.
box.
This will hide the group or class in your list, but you can view it by checking the inactive box. Inactive groups and classes will appear in red. These can be made active again by unchecking the Inactive box in Settings.
Delete a Group or Class
Deleting a group or class will erase all corresponding attendance entries and participation history. If this group or class has had activity or attendance, consider marking it Inactive, instead in order to retain a record of the Group or Class.
-
Highlight the name of the group or class you want to delete.
-
Click
 .
. -
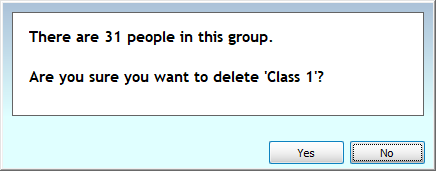
Confirm your selection. If there are people currently enrolled in the class, the confirmation message will warn you.